
Description
Micro Ornithopter Gearbox Parts for 6mm Coreless Motor, Module 0.3 Gears, Reduction Ratio 1:25.4.
Note: the motor is not included!!

This is a fully assembled gearbox.
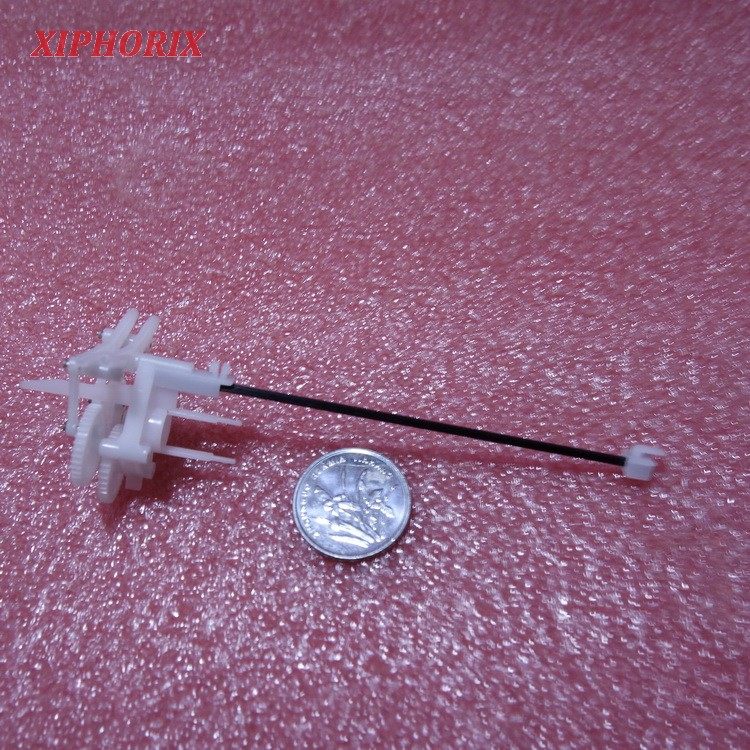
Actual usage status

The weight of the gearbox alone is 2.04g
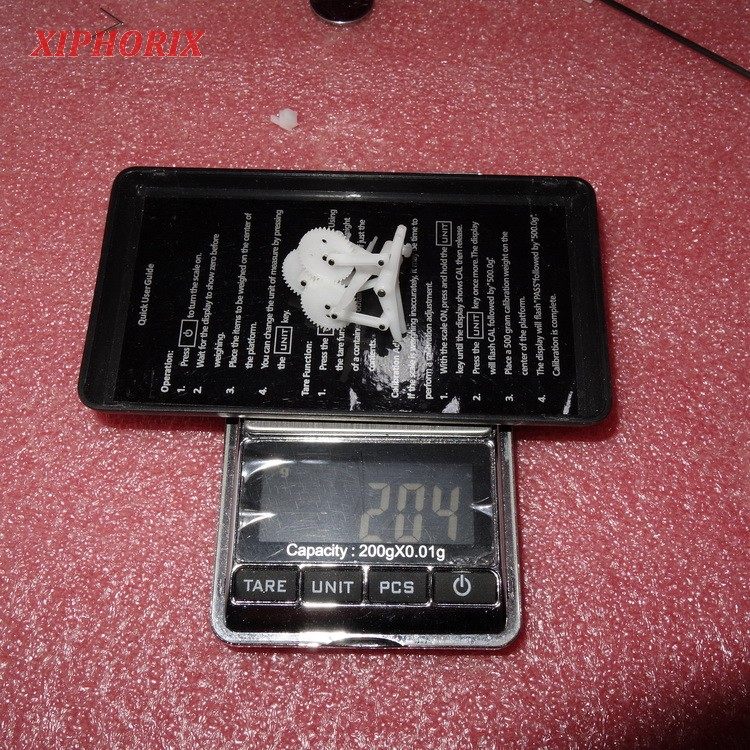
The weight of the fully assembled gearbox is 2.33g

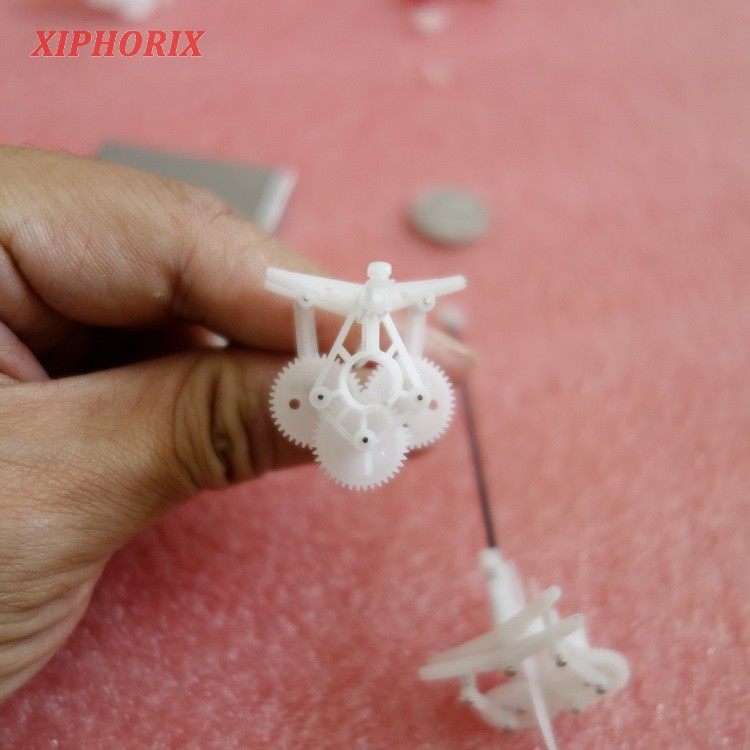
The assembly process of the gearbox parts, just refer to it
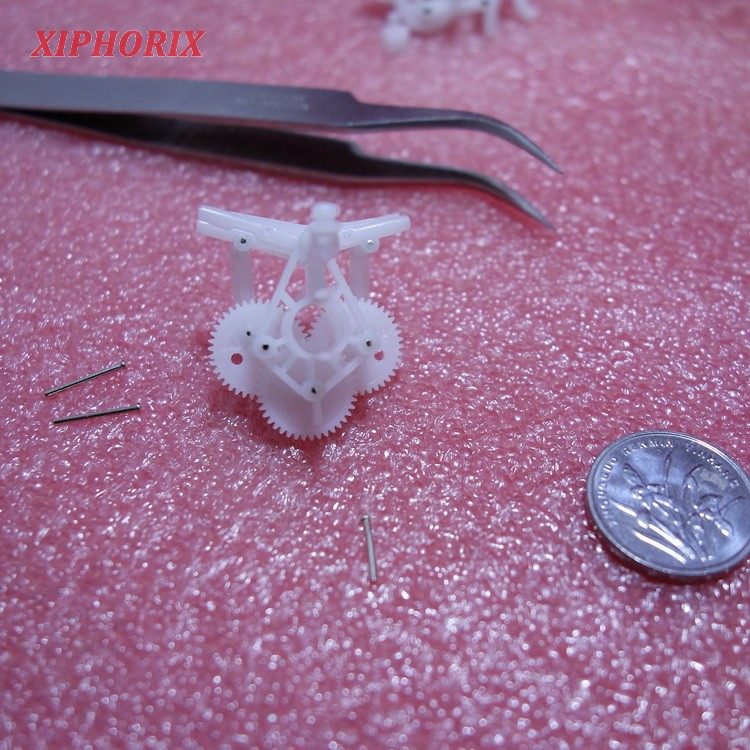
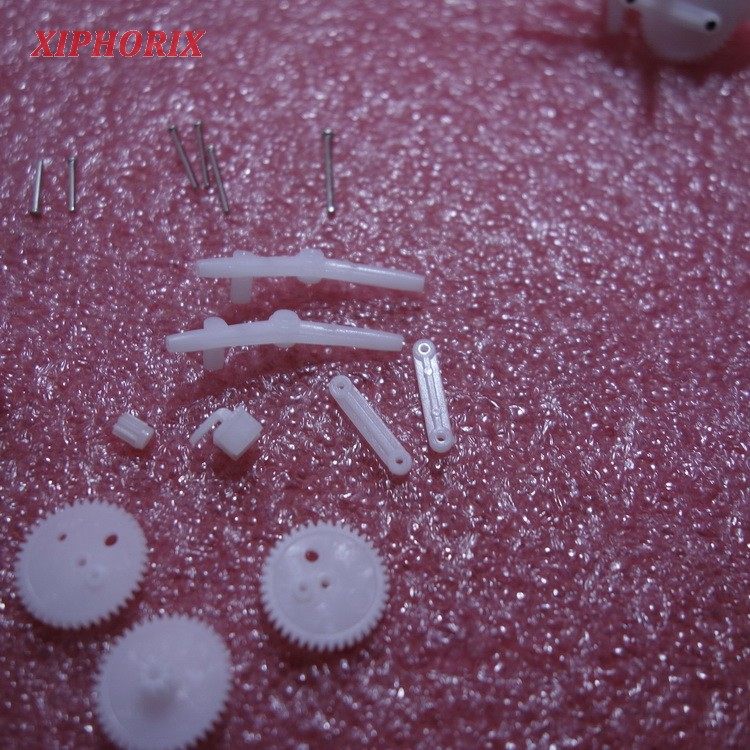
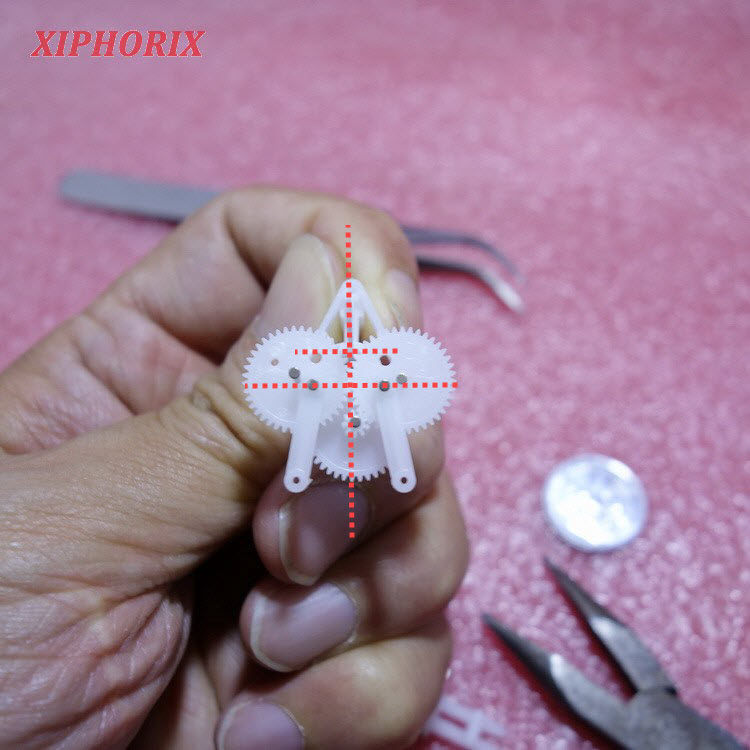
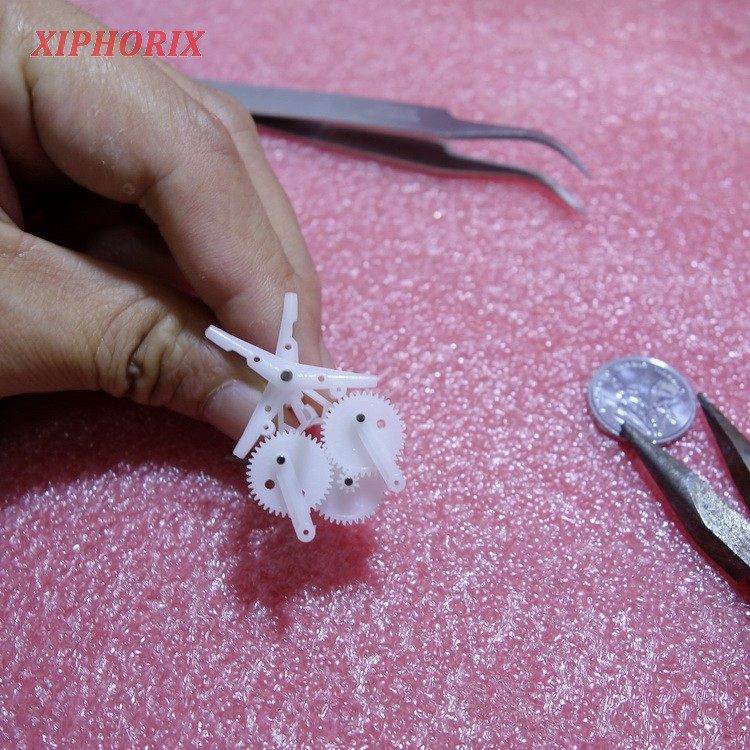
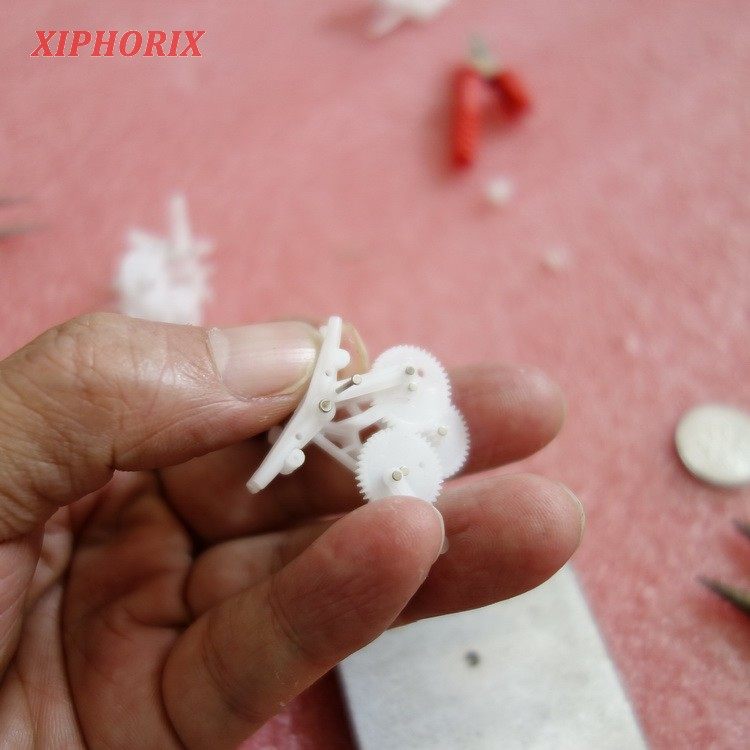
The all parts of gearbox, the pinion is 7 teeth, the three gears are 40 teeth all, the middle is a doubler teeth gear, the left gear has 4 holes, the right gear has 3 holes, the core of the three gears is about 0.85mm, and the module are 0.3.
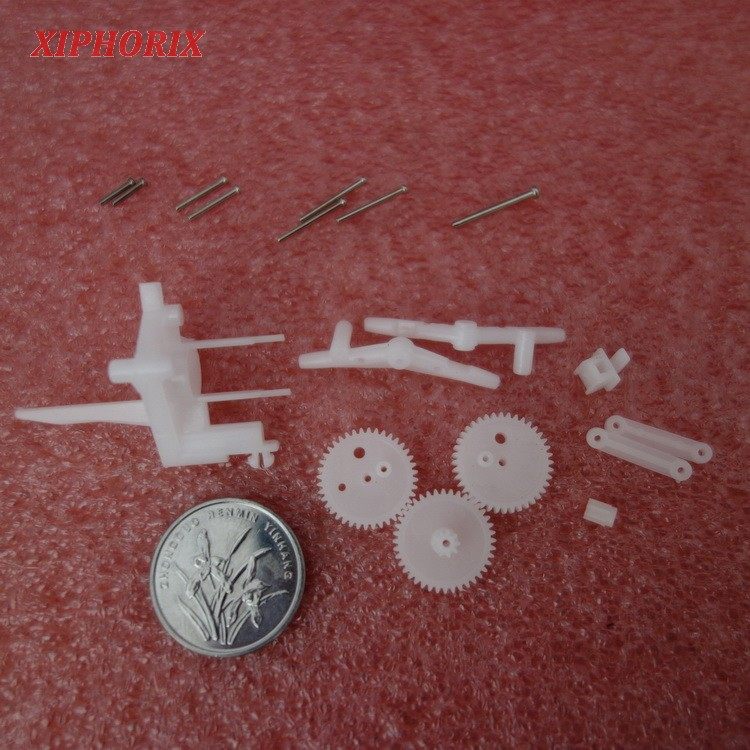
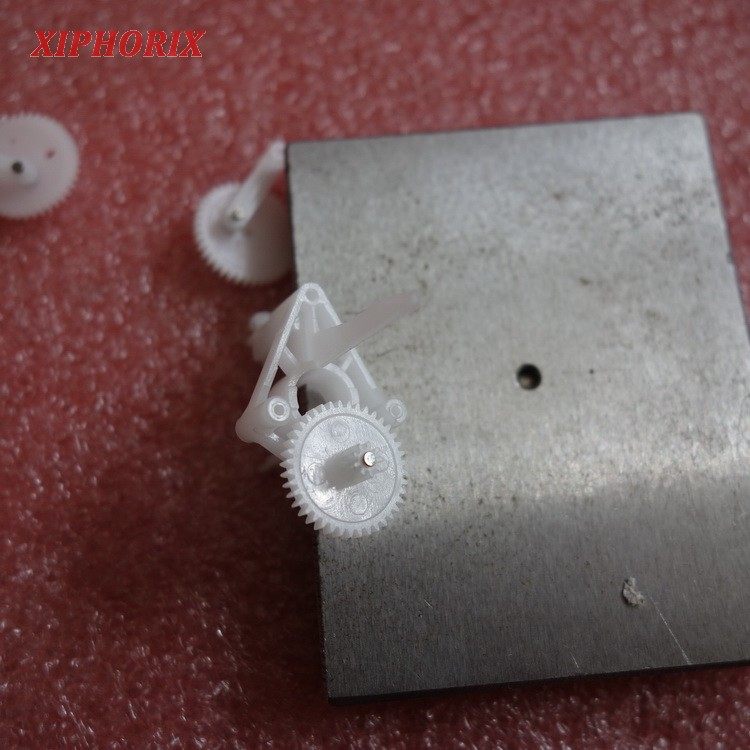
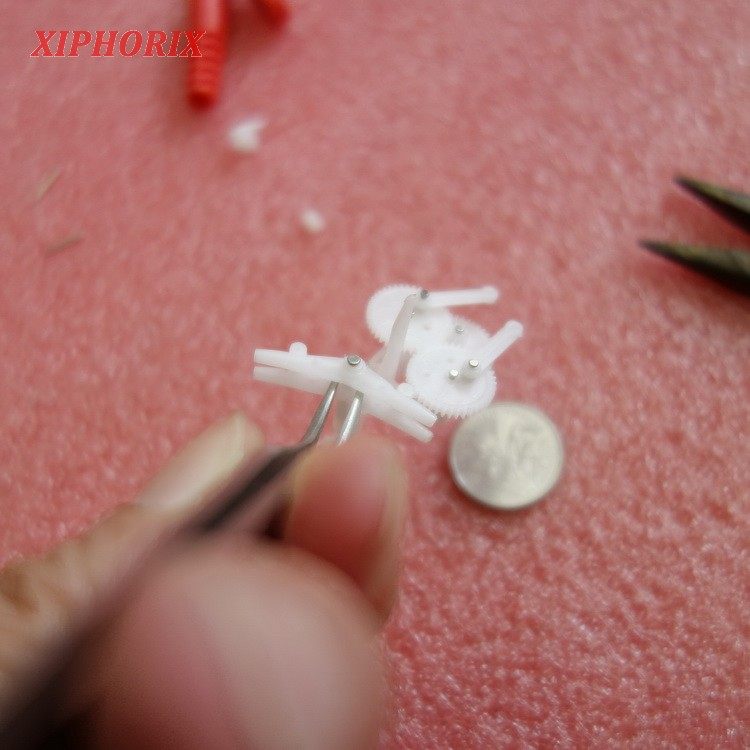
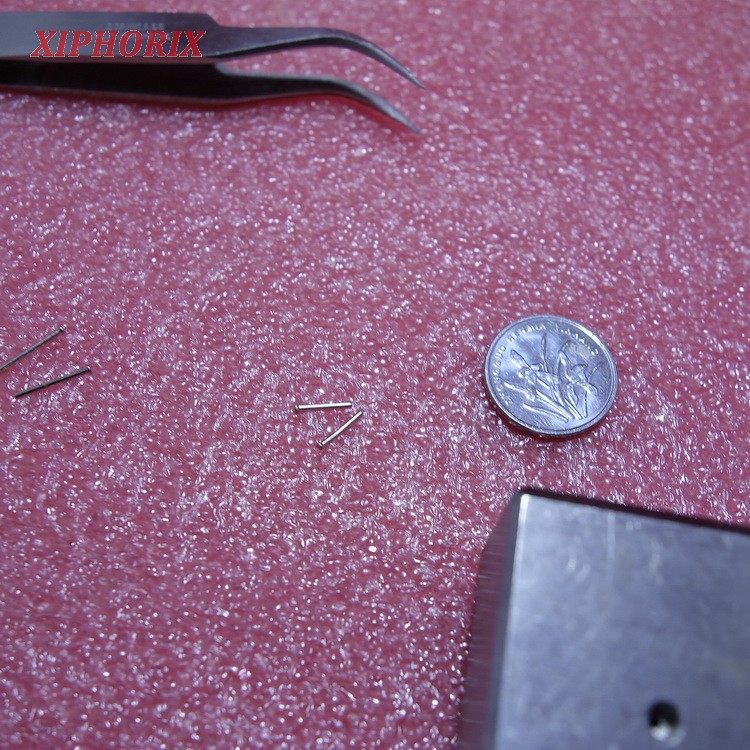
Four different shafts are numbered, No. 1, No. 2, and No. 3 are 0.8mm diameter, with lengths of 5mm, 7.5mm, and 10mm; Shaft No. 4 is 1mm diameter, length 11.7mm, and the position of the four shafts on the gearbox is also marked, and only one can be seen in this picture No. 3 shaft
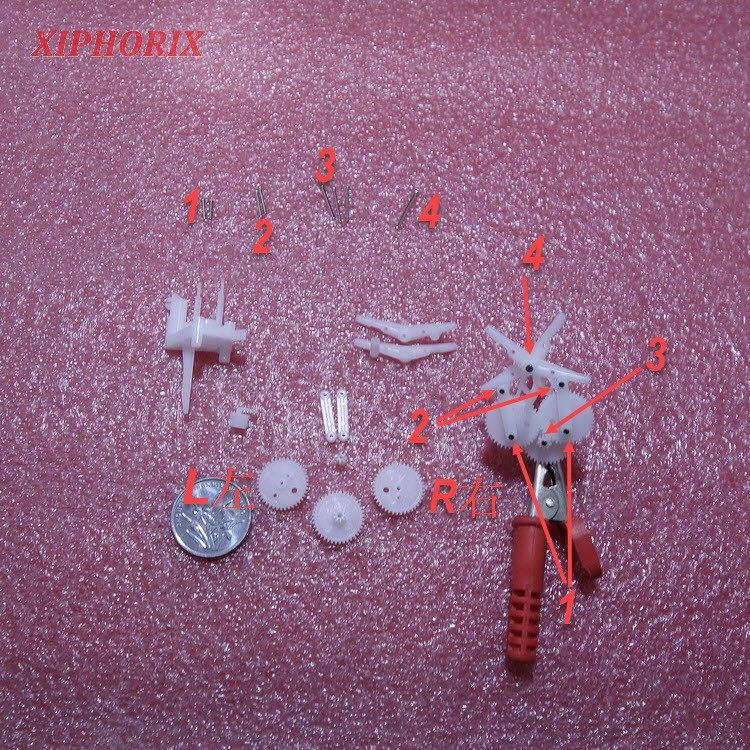
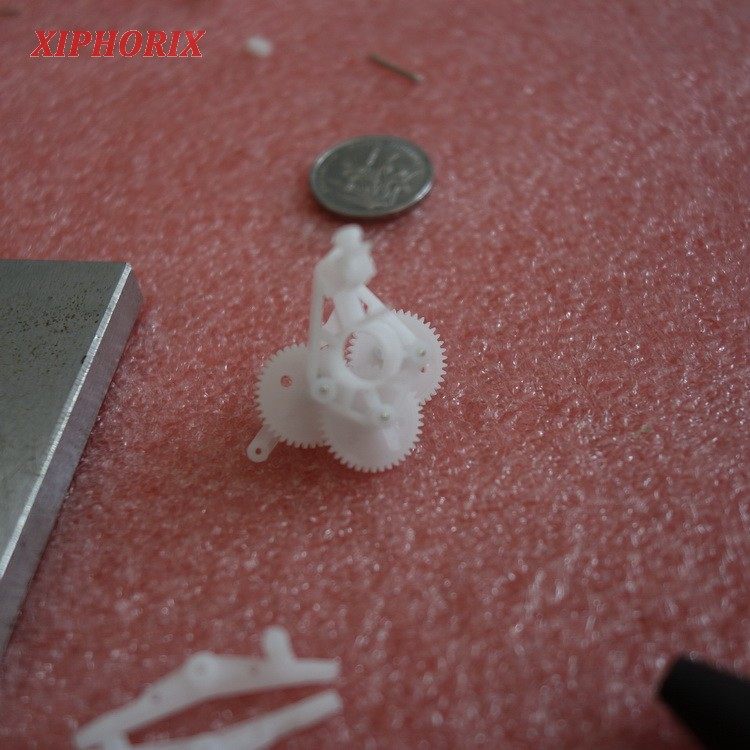
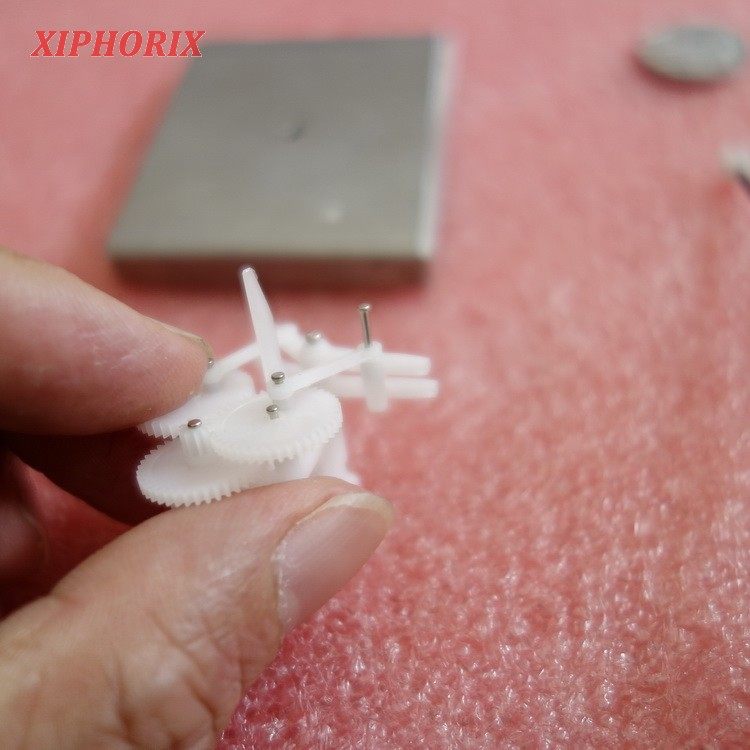
As you can see on the back, shaft NO.3 is used to fix these three gears, and pay attention to that the shaft should be iron and will bend, so be careful when installing
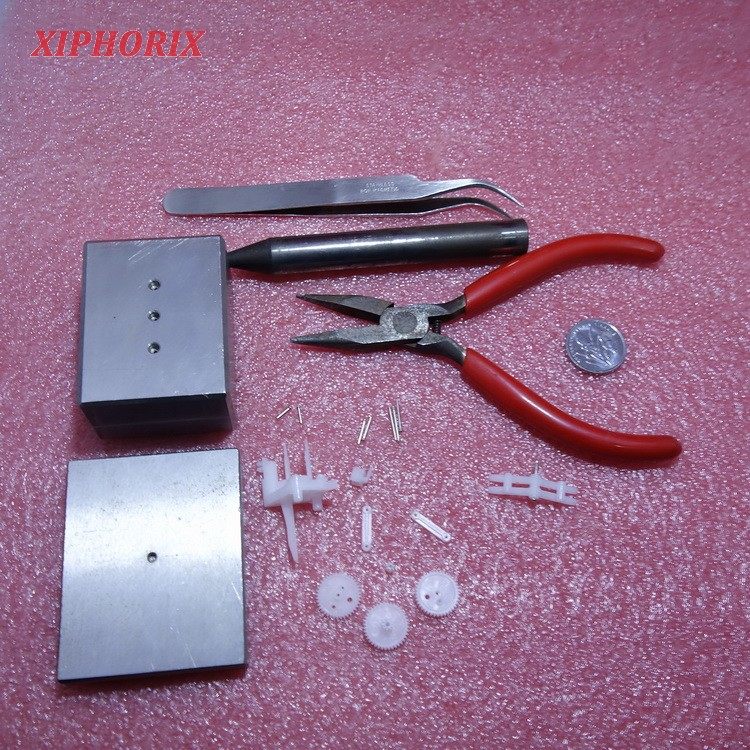
All tools
Note that these two small connecting rods are distinguishable between the front and back, for the sake of aesthetics can consider consistency, do not mind please ignore.
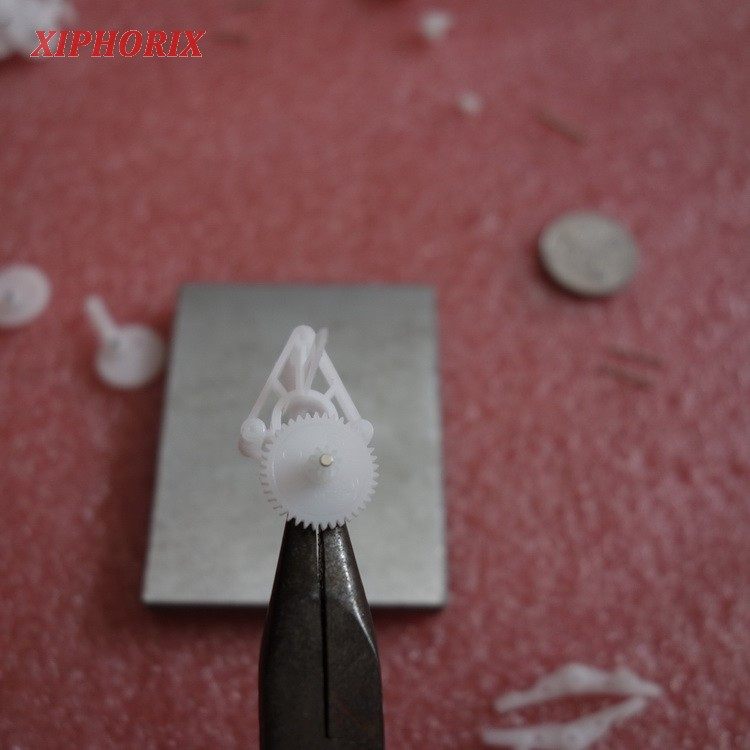
First use the No. 1 shaft to fix the connecting rod to the left and right gears, the No. 1 shaft first passes through the connecting rod and clamps with sharp-nosed pliers, the gears also have front and back, only the connecting rod fixed position has a convex opposite the No. 1 shaft
After pressing a little into the fixing hole with needle-nose pliers

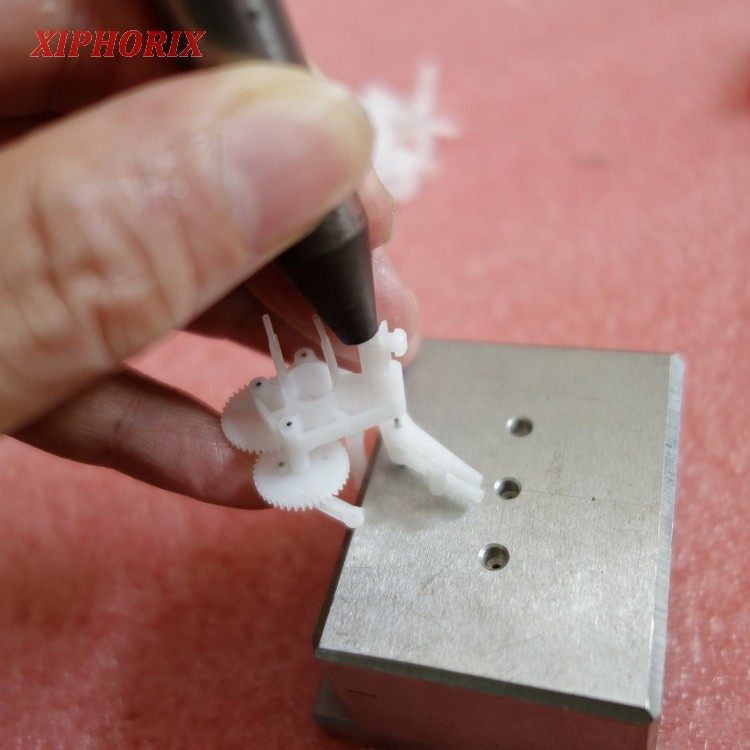
Then use the tool to press the shaft completely in
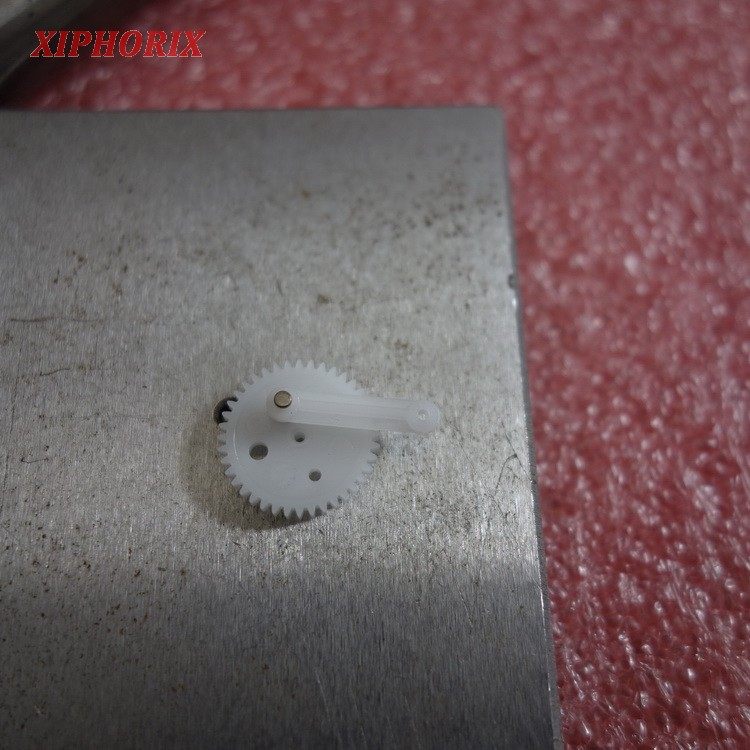
The left and right gears are pressed with connecting rods
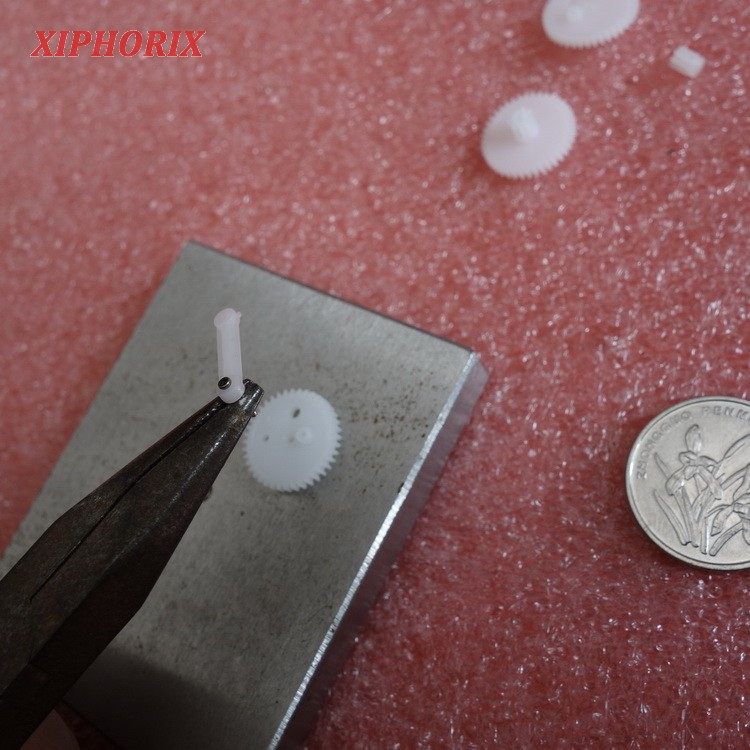
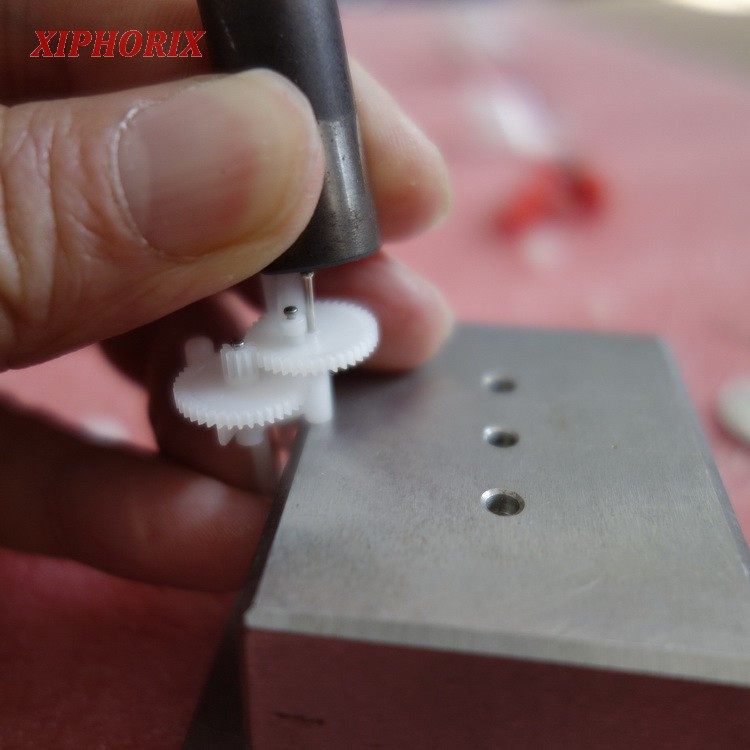
Below is the fixing of the 9/40 double teeth gear, which uses the NO.3 shaft.
The fixing process is similar, use needle-nose pliers to clamp the shaft and press a little into the gear frame
Fixed to the bottom hole
Then find a suitable spot on the workbench
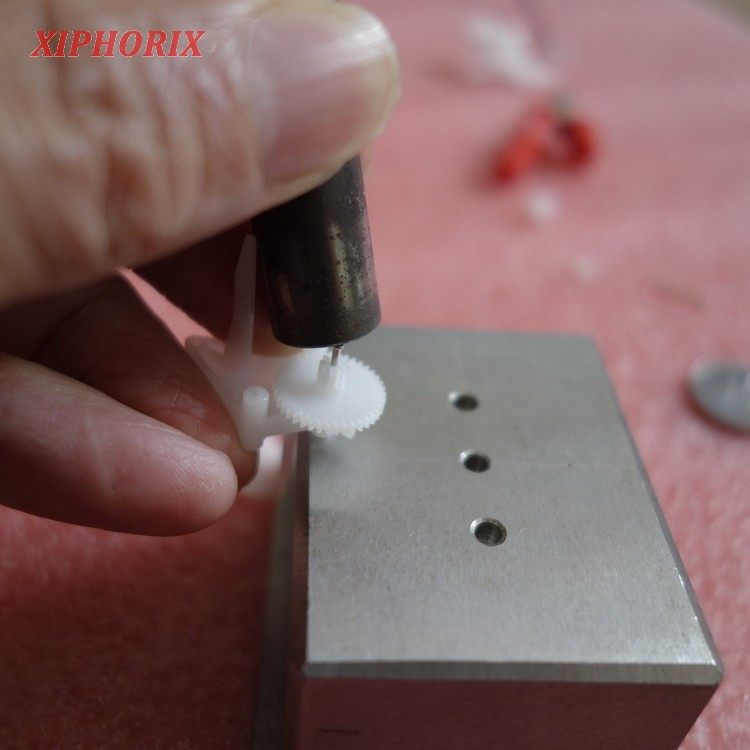
You can press hard to the end, don't worry about pressing too tightly
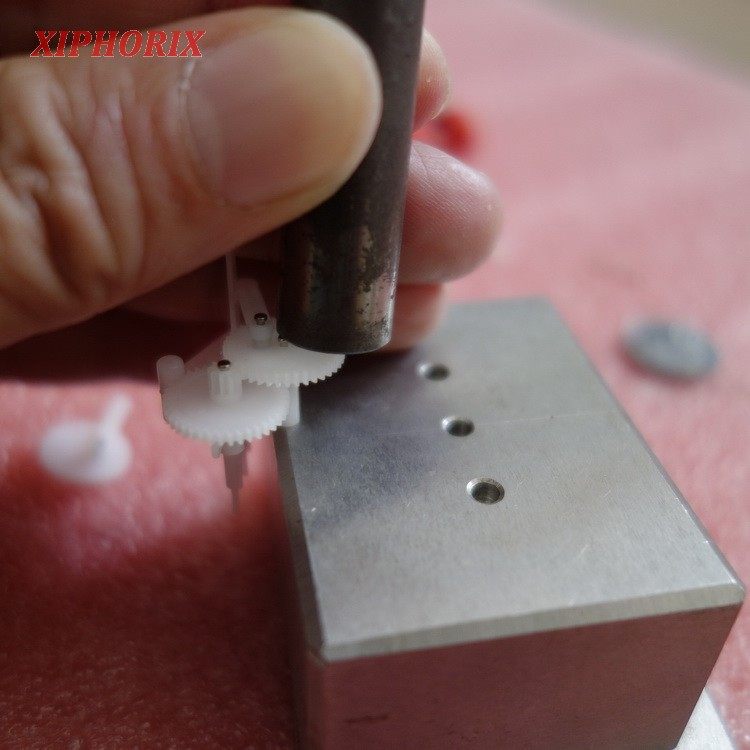
Continue to install the right gear, again with a No. 3 shaft, the right gear is three holes
Find a good location
Press with the most marginal part of the tool
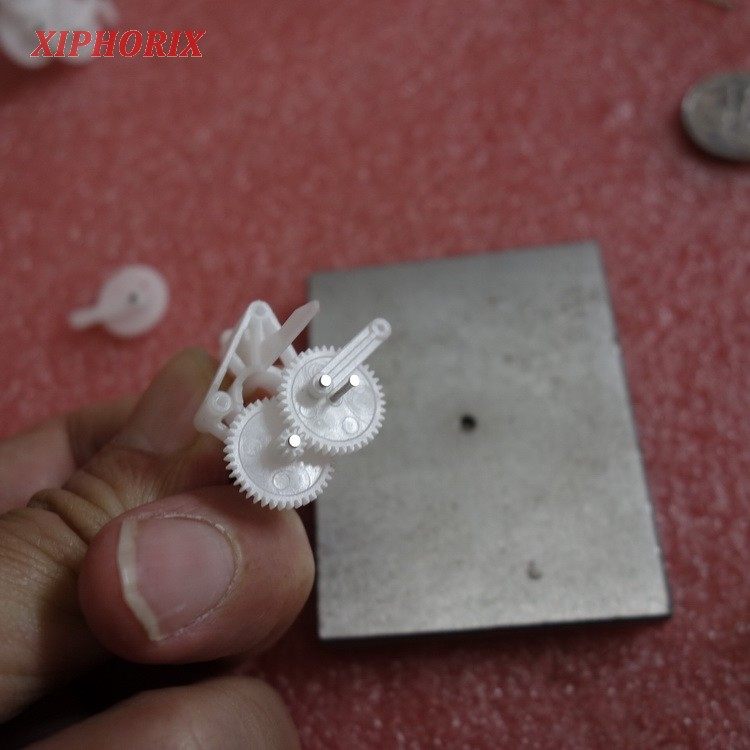
Below is the left gear installation, the left gear is 4 holes, feel no difference, why an extra hole, I think it is the left gear to rely on the right gear transmission, so it is better to be lighter, at this time pay attention not to press the shaft down, the most important step to pay attention to
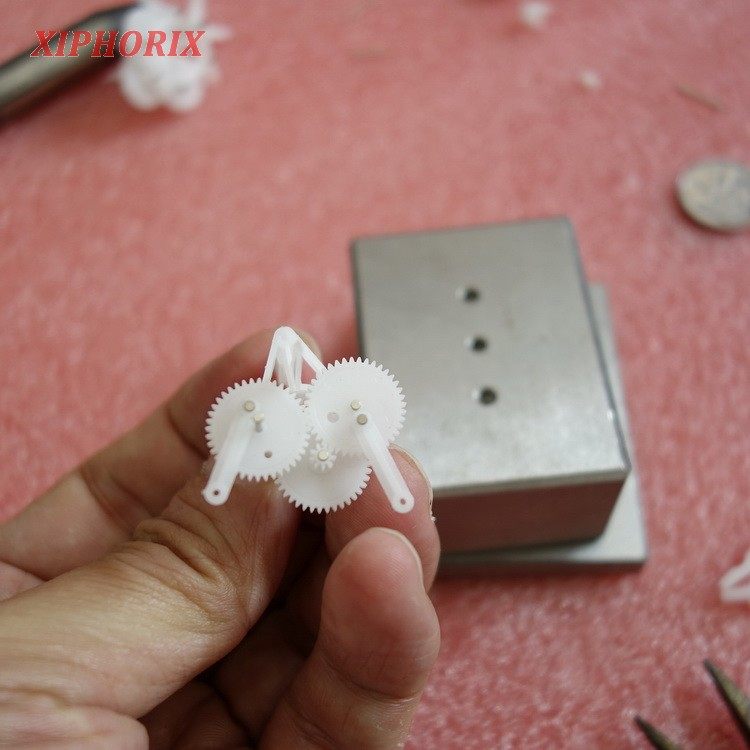
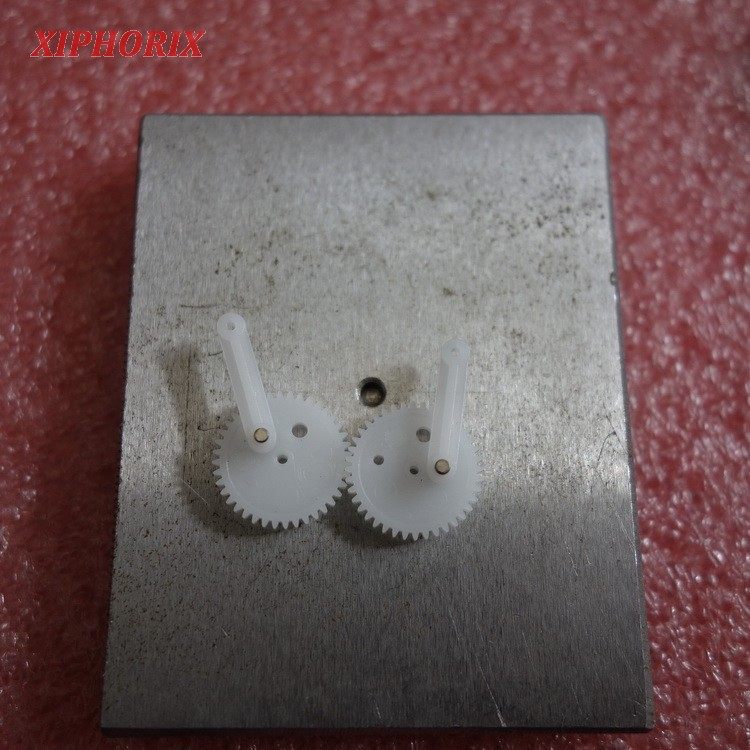
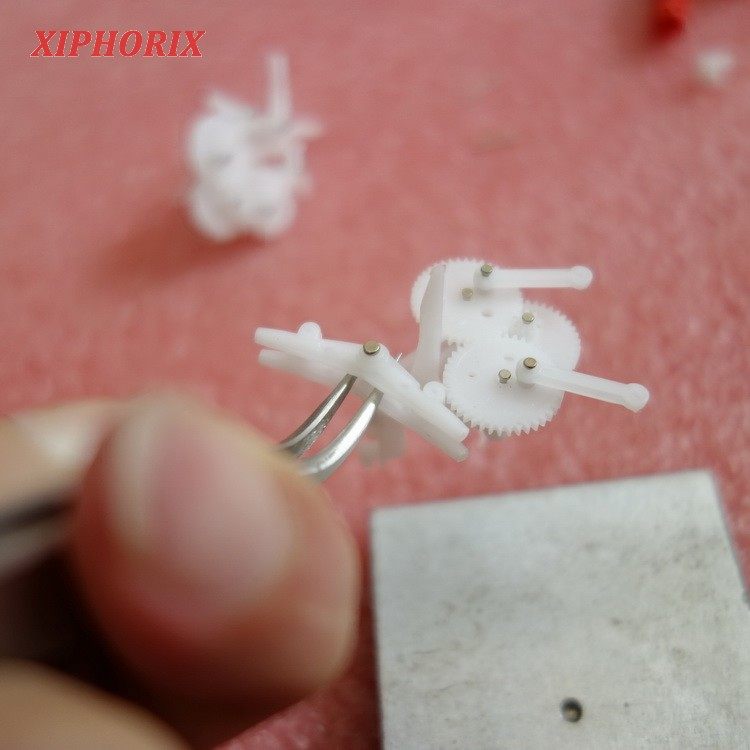
It is necessary to adjust the connecting rod of the left gear to be completely symmetrical with the right gear, so that the action of the final rocker wing is consistent
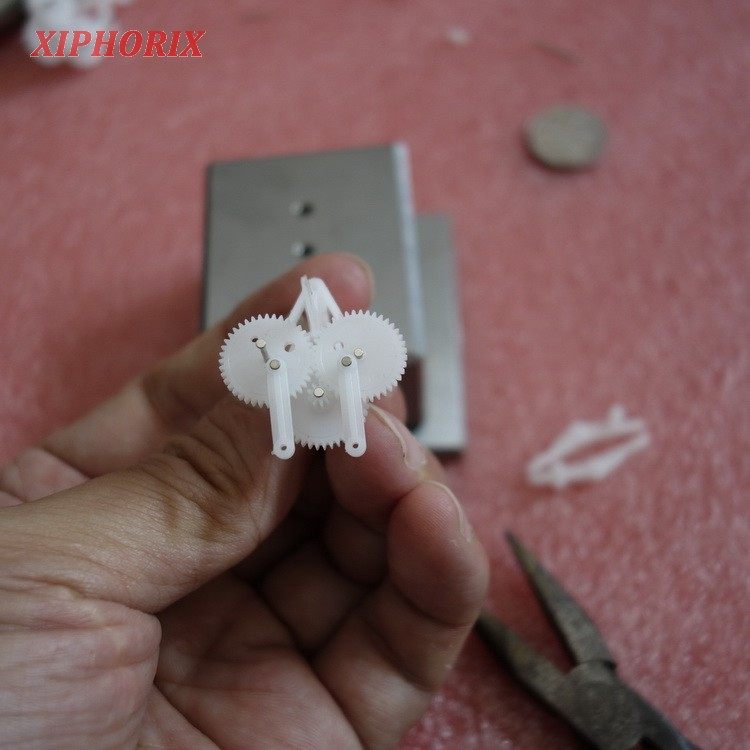
As illustrate, the two sides are symmetrical
After adjusting it in this way, press the No. 3 shaft of the left gear into it and press it to the end
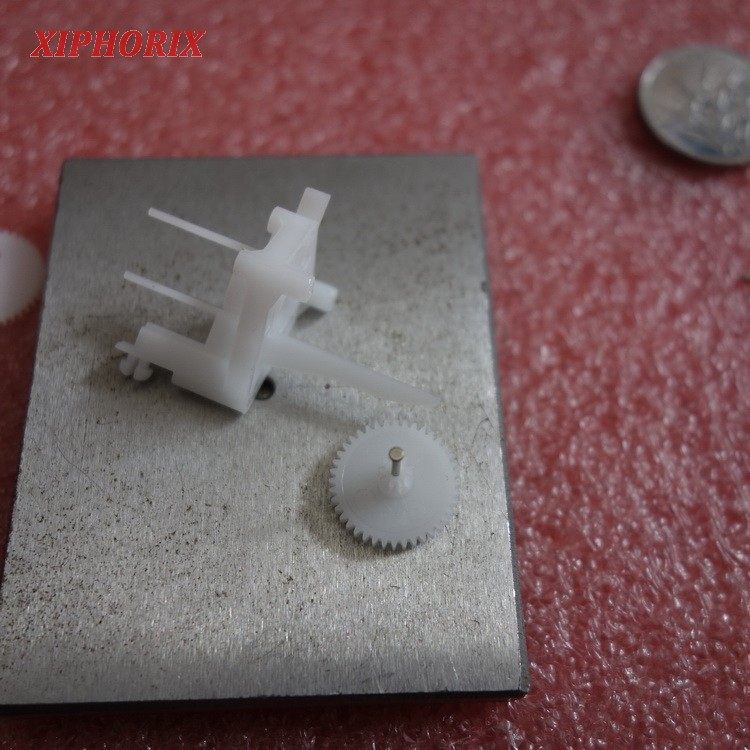
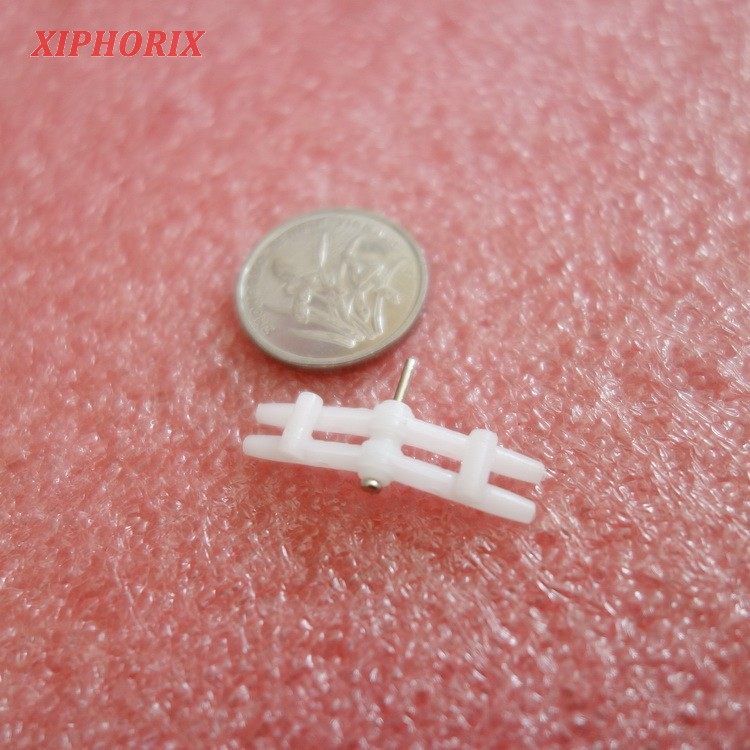
Below is the swing arm, and the two rocker arms are lined up to insert into the No. 1 shaft.
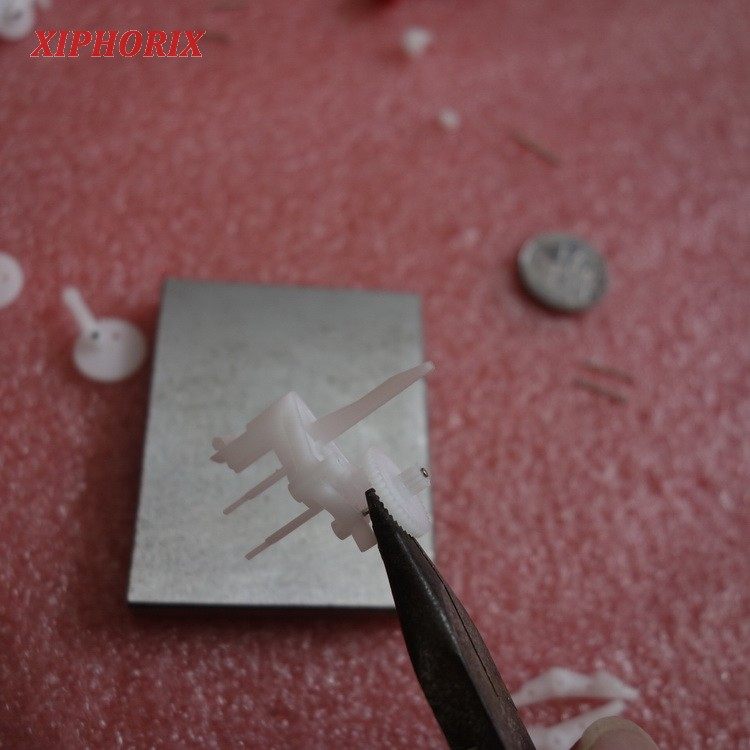
Use needle-nose pliers

The NO.1 shaft is not easy to install and fix, so the parts have to be fixed upside down
This may press the shaft too tightly, adjust it with bent mouth tweezers.
Adjust to the swing arm swinging smoothly
Finally, the connecting rod and swing arm are fixed with the No. 2 shaft, which is the most difficult to operate
Make sure the shaft is inserted into the swing arm and press it all the way in
This is the bent NO.2 shaft
Left swing arm

The length of the shaft of numbers 1-3 is calculated, so it is okay to press it to the end
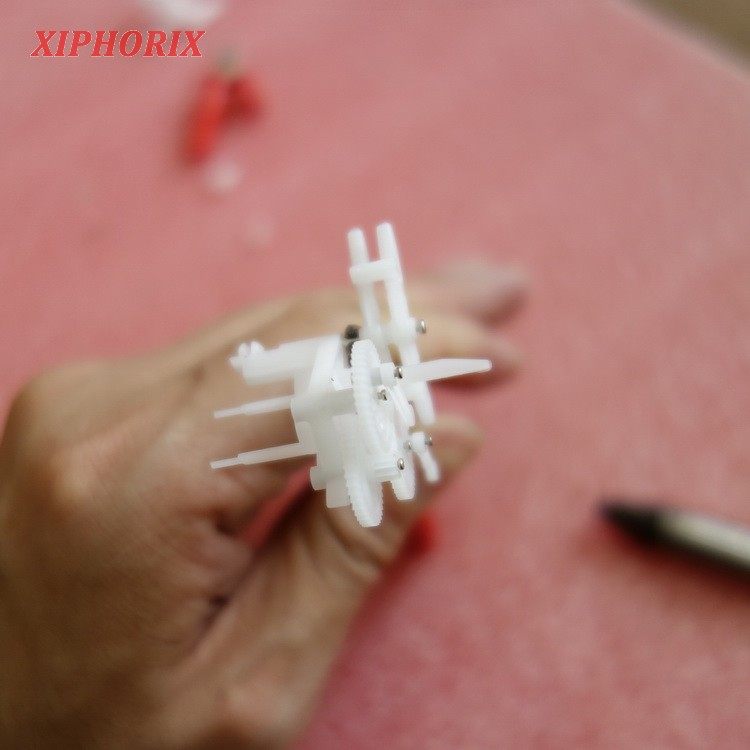
It's done, other motors, tail rods are very simple

